My Vader 2600, the first system I modded with UAV, was not known good when I started. In fact, I bought it because the seller listed it as nonfunctional, and these things seem to run forever so I didn't believe his ad for a nonfunctional 2600.
The modified Vader has some minor video issues. I know that some of the video issues are known: one is related to incompatibilities between Asteroids, UAV, and modern TVs. Some other games have some problems as well, but those might be bad cartridges, and in any case I decided to UAV-modify my second 2600.
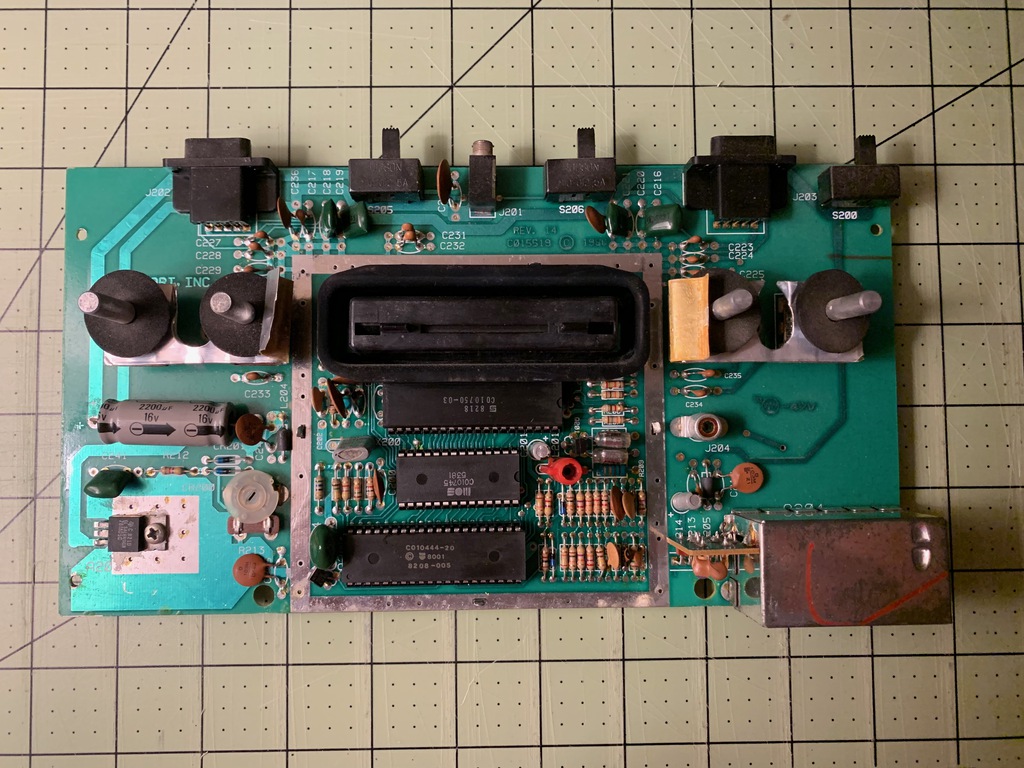
I pulled the UAV out of my 5200 that displays only black-and-white, so this one has the socket pins on it, and I didn't bother removing those.
Here's today's project system:
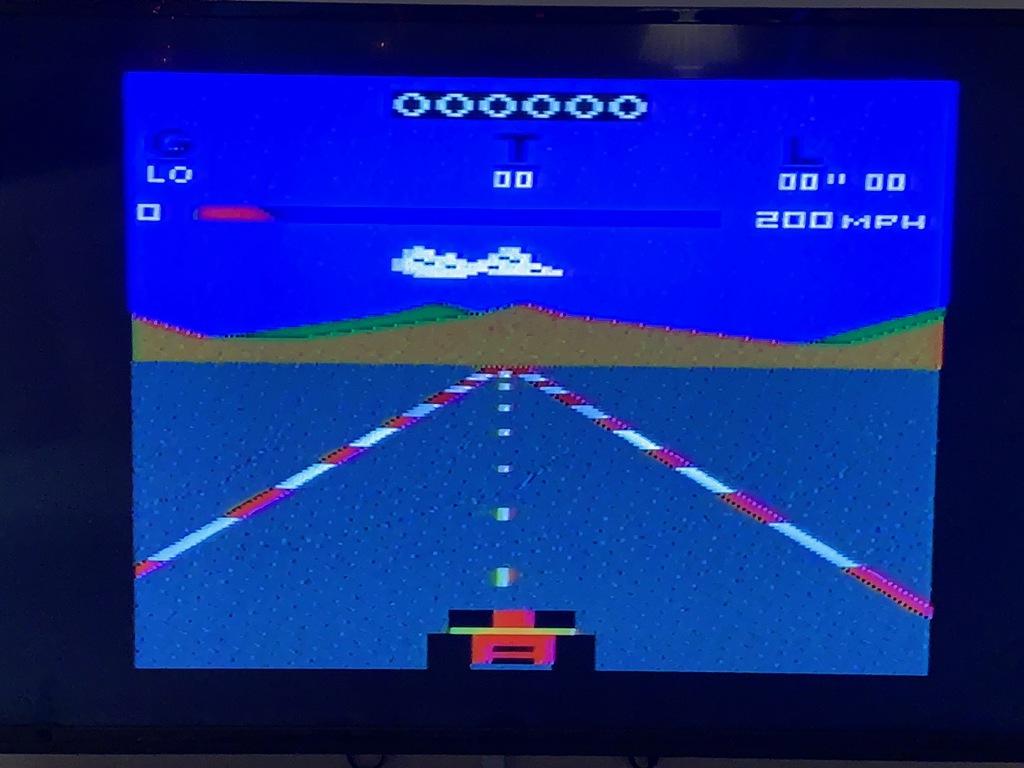
It started with snowy RF video:
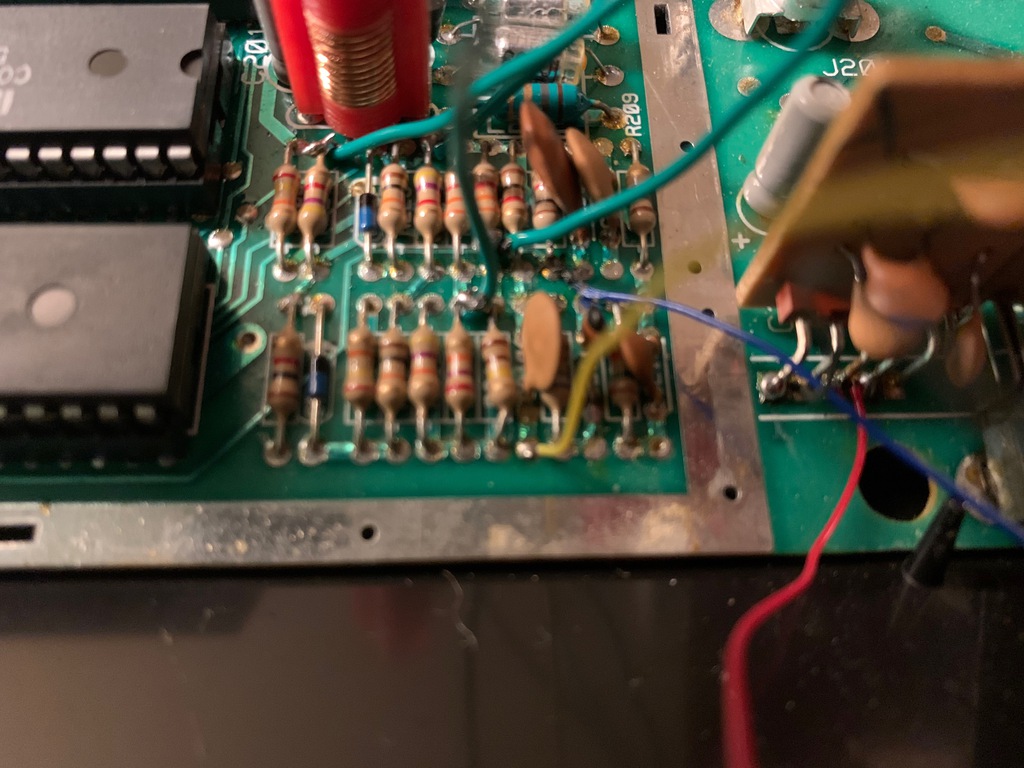
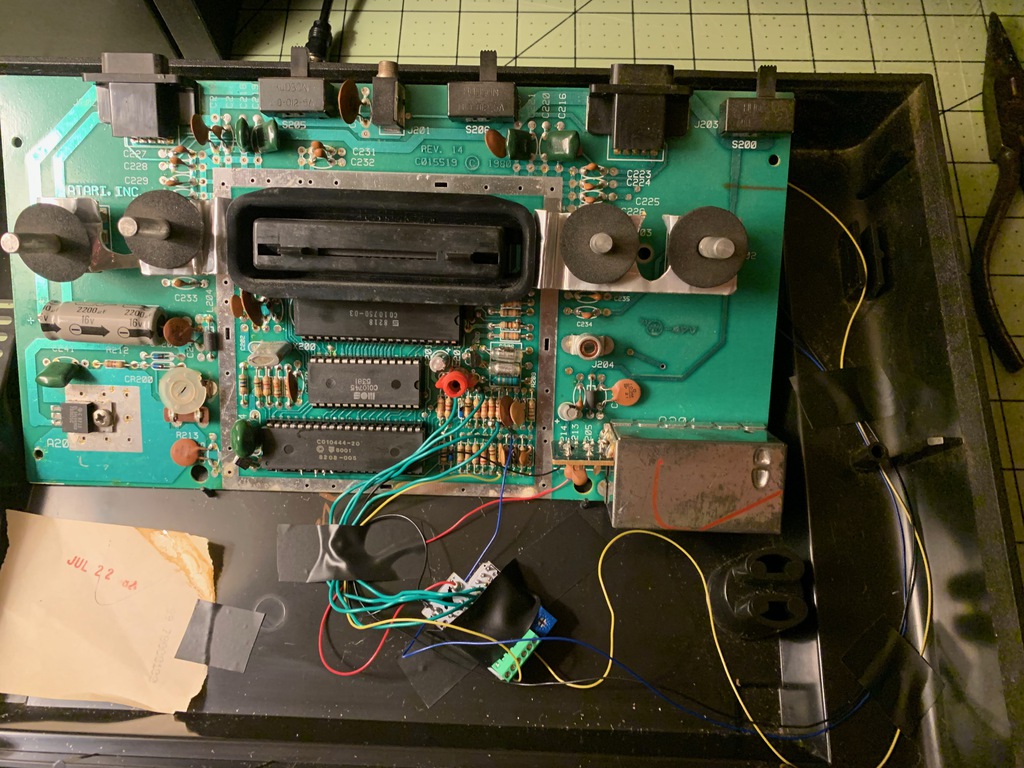
I first did the install by soldering to the CPU legs, but I really don't like doing this, so I decided to redo it. I checked schematics and located components on the board that connect to the pins the UAV needs. I looped around the component leads, and this results in a much stronger connection:
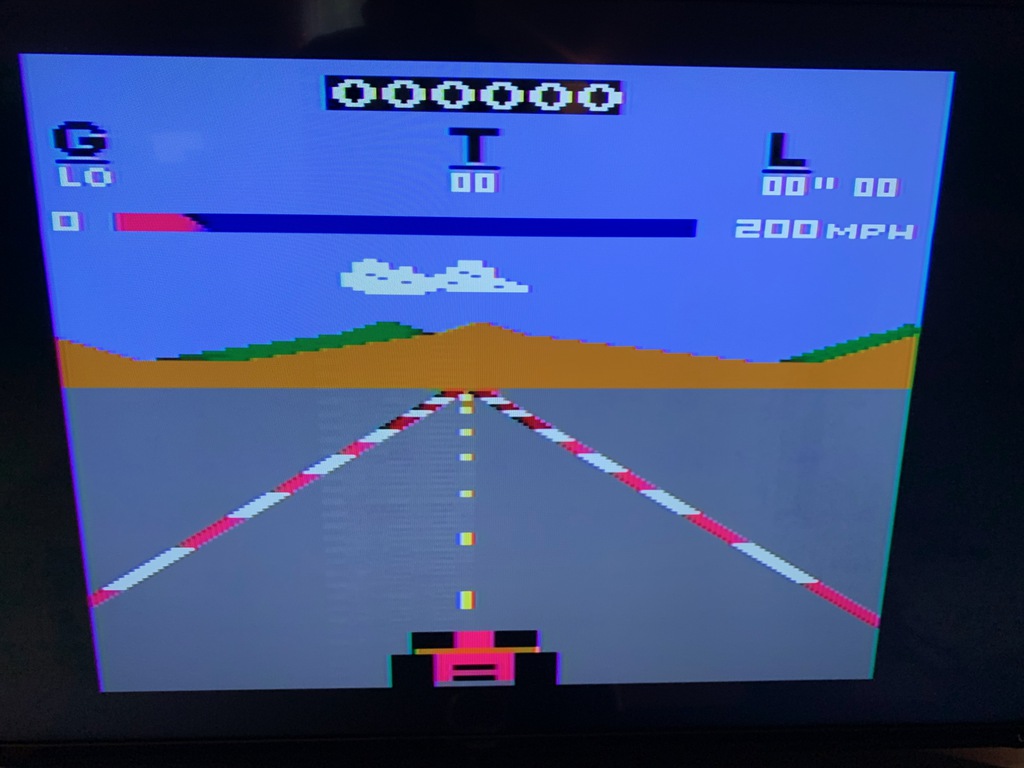
Once again, the combination of the RetroTINK 2X-MINI and UAV produces impressive output over a composite connection:
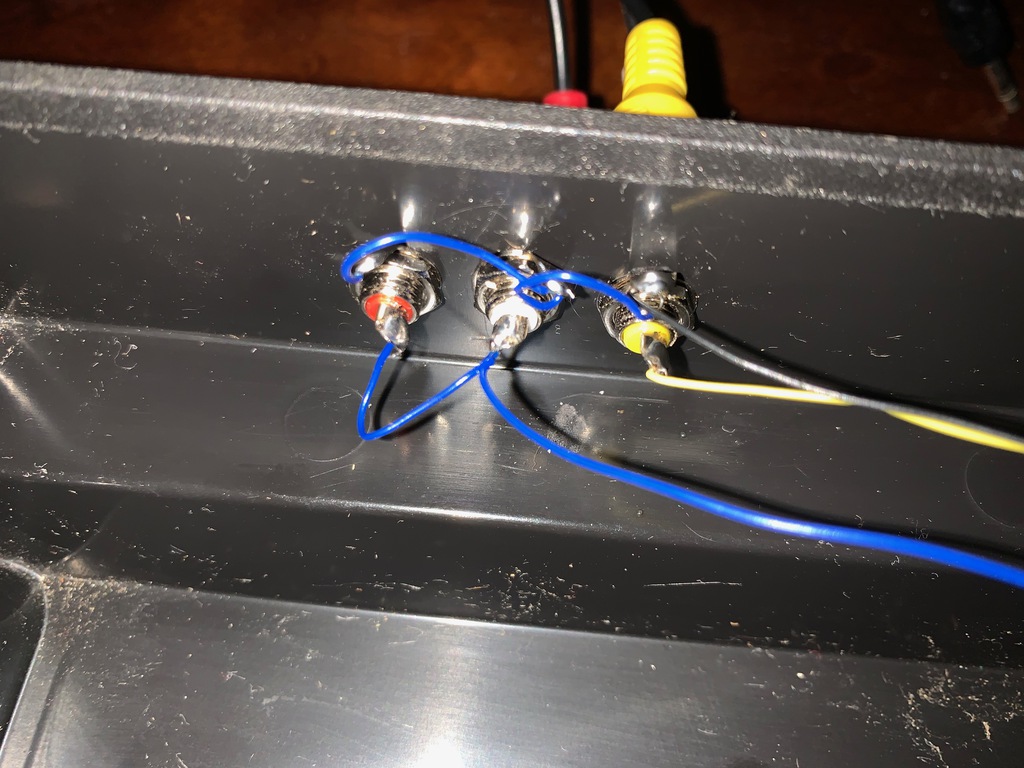
I didn't do a great job lining up the RCA jacks; oh well:
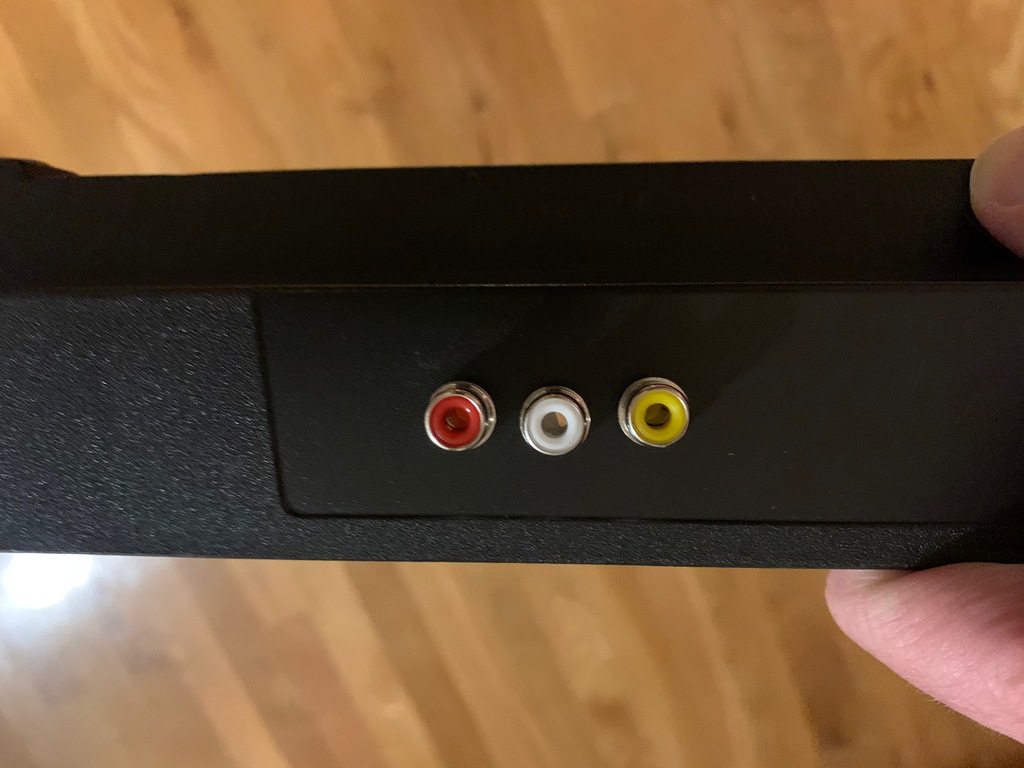
But internally they are fine:
Here's where I stopped, but I am going to redo this:
AtariAge user -^CrossBow^- recommended that I reuse the RF shield and mount the UAV below the reset switch so I will be doing that soon. It will certainly make this install much cleaner.
As with my other UAV-modded systems, I will be adding S-video to this unit once the connectors arrive.