Over the weekend, a friend came over and we started modding more systems -- right now at my house I have a total of three Atari 2600s and five Atari 5200s. Two of each are mine and the rest belong to my friend.
First thing we did was to drill all the holes we needed: 3x RCA and 1x S-video in each, and we started the hole for a 4-port 5200 power mod.
We first worked on my friend's 2600, and unfortunately we broke a cardinal rule of modding: we did not check it before we started. After way too much time, we tried RF and realized that that particular 2600 is having other issues. Oops.
So, we moved on to my units, and we added S-video to my 2600 and 5200 that were both already UAV-modified with composite output. The 5200 worked right away, but the 2600 gave us some trouble.
I didn't know where the problem was, so I tried the 2600 with the 5200's S-video connector (I moved the wires from the 5200's UAV to the 2600's UAV), and that worked. Then I did the reverse (5200 UAV into 2600 S-video connector), and that worked. So I reconnected the 2600 UAV's S-video wires, and it worked after something like five tries. I must have screwed the 2600 UAV's terminal block onto insulation instead of wire. Who knows... but it works now, which is all I really care about.
After I had everything working on both systems, I put the 5200 back together. I soldered the 5200 UAV onto the 4050 chip and closed everything up. Well... it didn't work -- the 5200 had some seriously funky output, as you can see in these pictures:
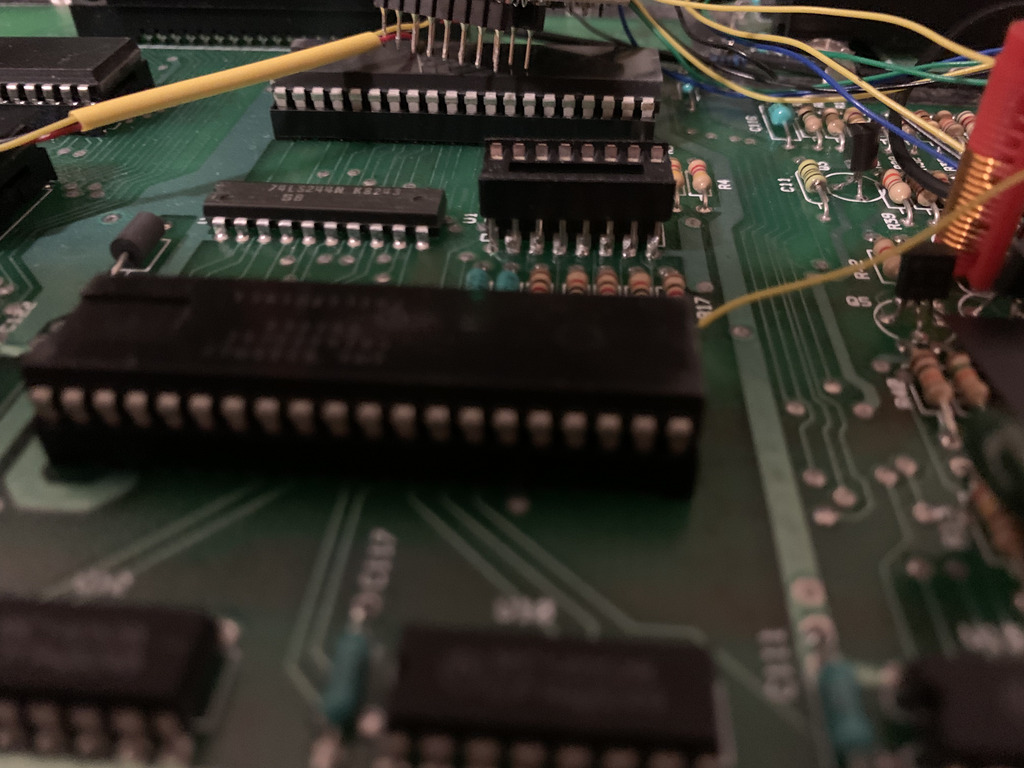
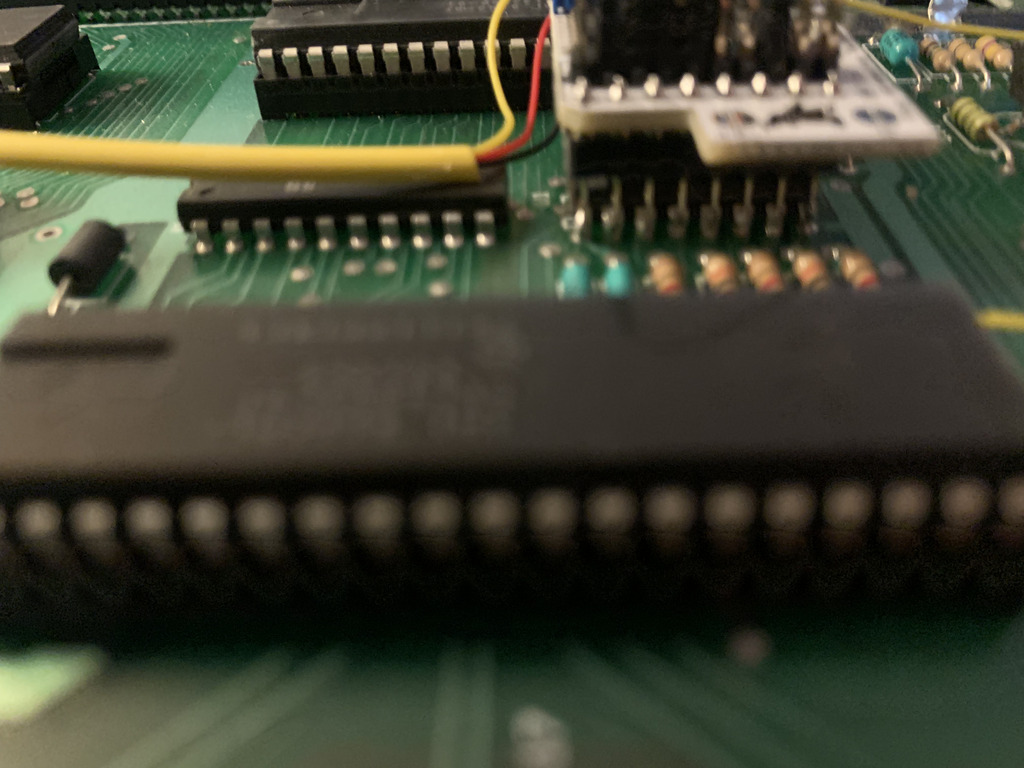
Taking a cue from a suggestion made by AtariAge user Crossbow, I desoldered the UAV from the 4050, then I soldered a socket on top of the 4050. I did this because with the UAV it is very difficult -- if not impossible -- to solder the back 8 pins of the UAV onto the 4050 -- but it is very easy to soder a socket onto the 4050:
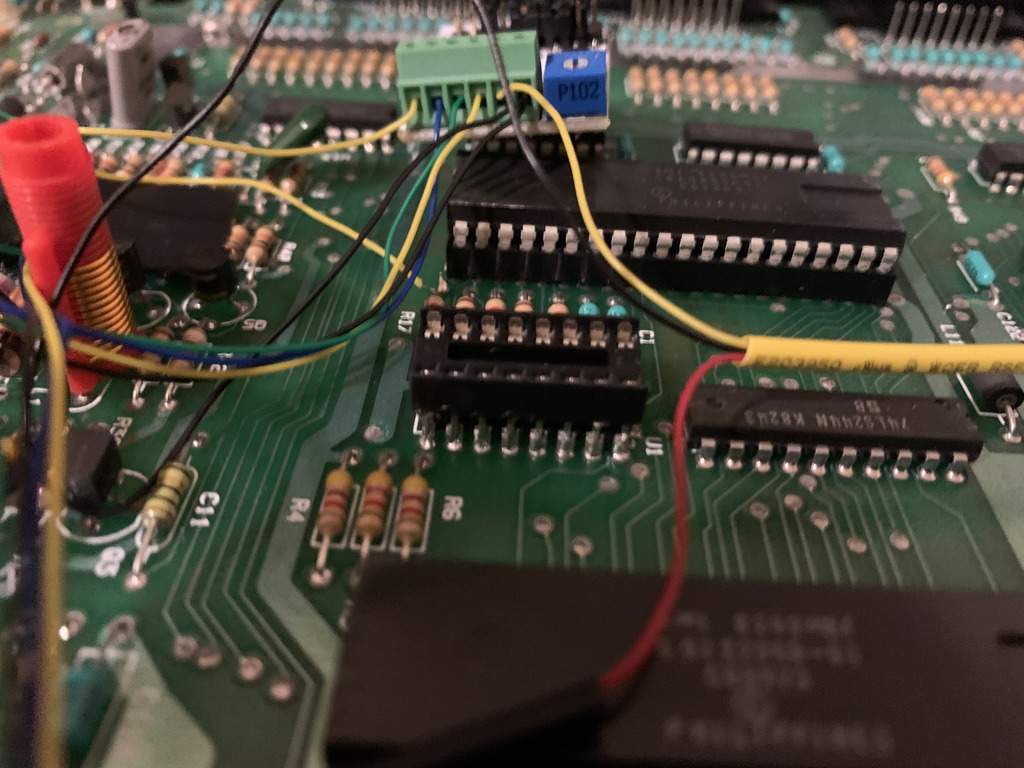
After adding the socket and inserting the UAV into the socket, I was rewarded with the stunning video quality that I expected:
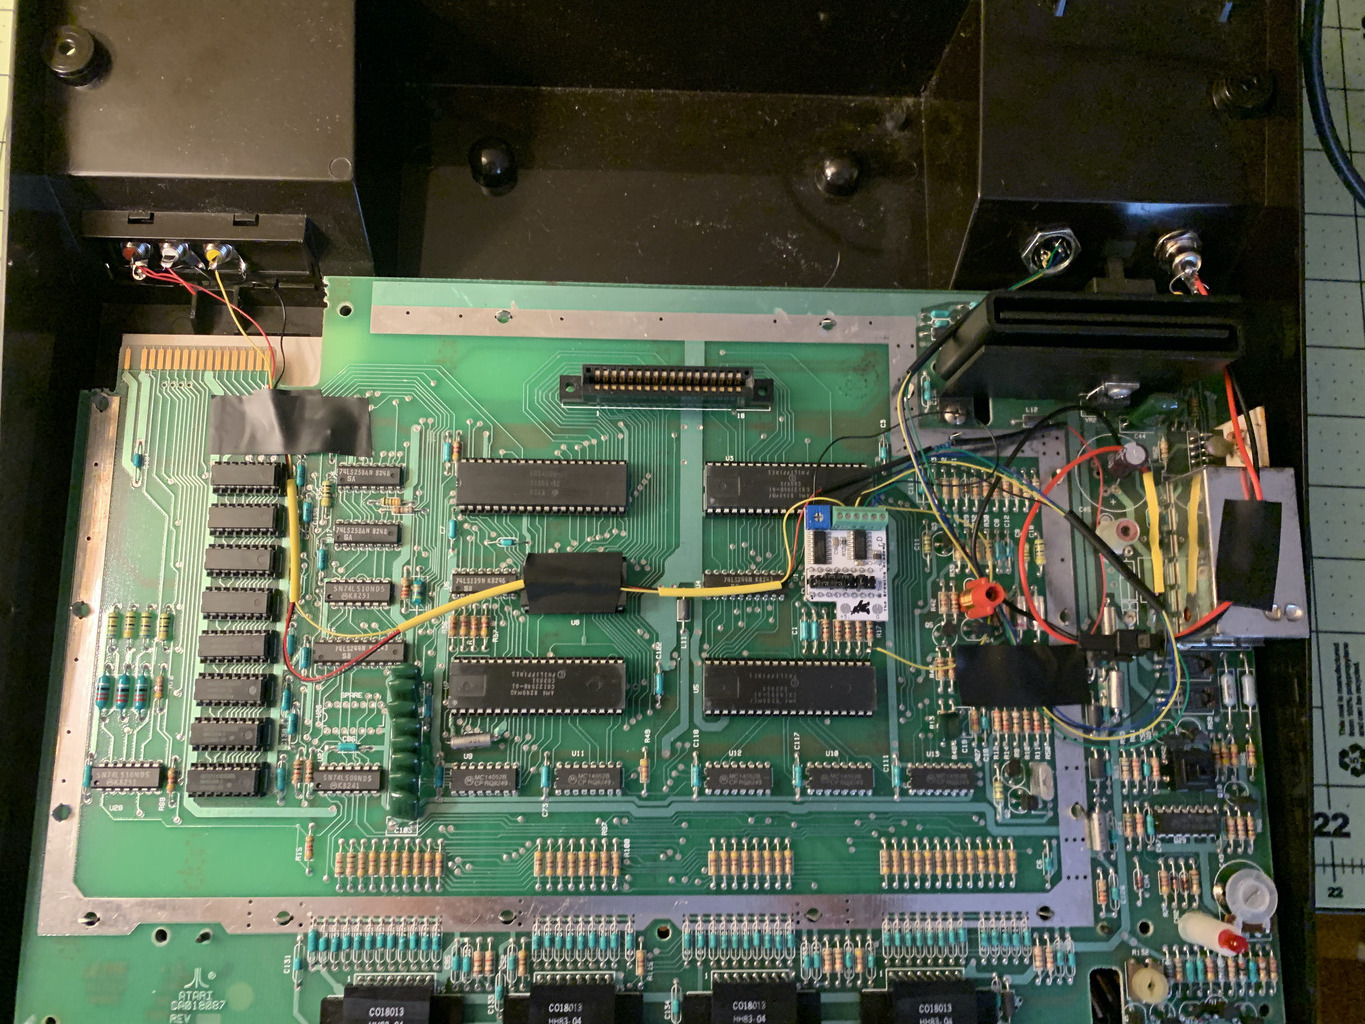
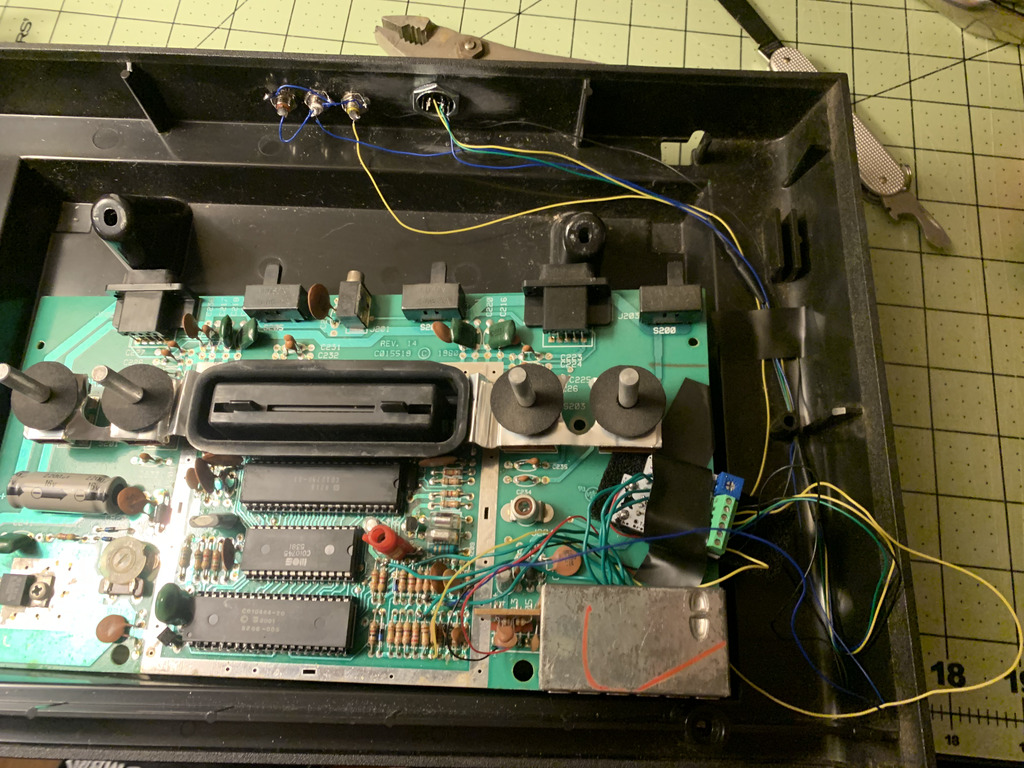
Here are a couple of pictures of the completed 5200. As you can see, this is a 4-port system with the power mod.
Here are a couple of pictures of the completed 2600. Yes, I could have done much better with the location of the UAV. I'll do better next time.
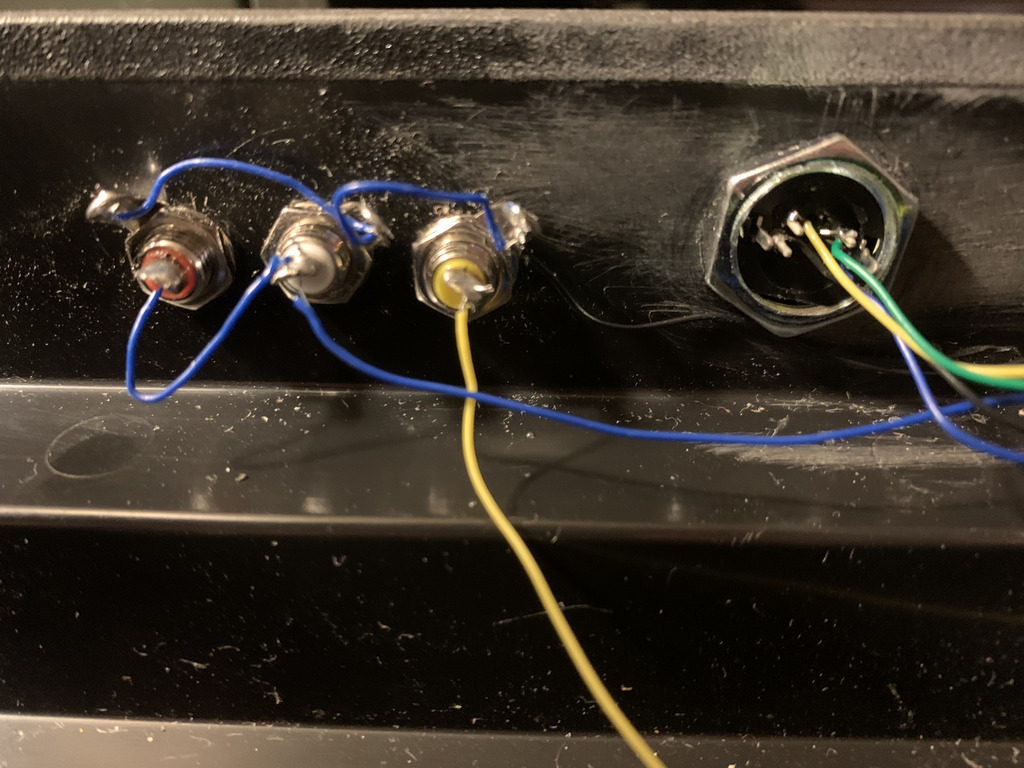
Unfortunately, on both systems the S-video connector is not oriented correctly. This is because the largest drill bit I have is 1/2", and we needed something like 17/32 or 9/16, so we worked my drill bit around a little bit to make the hole large enough. As a result of this, the hole was not perfectly round, but the S-video connector fit and we decided to call it good enough.
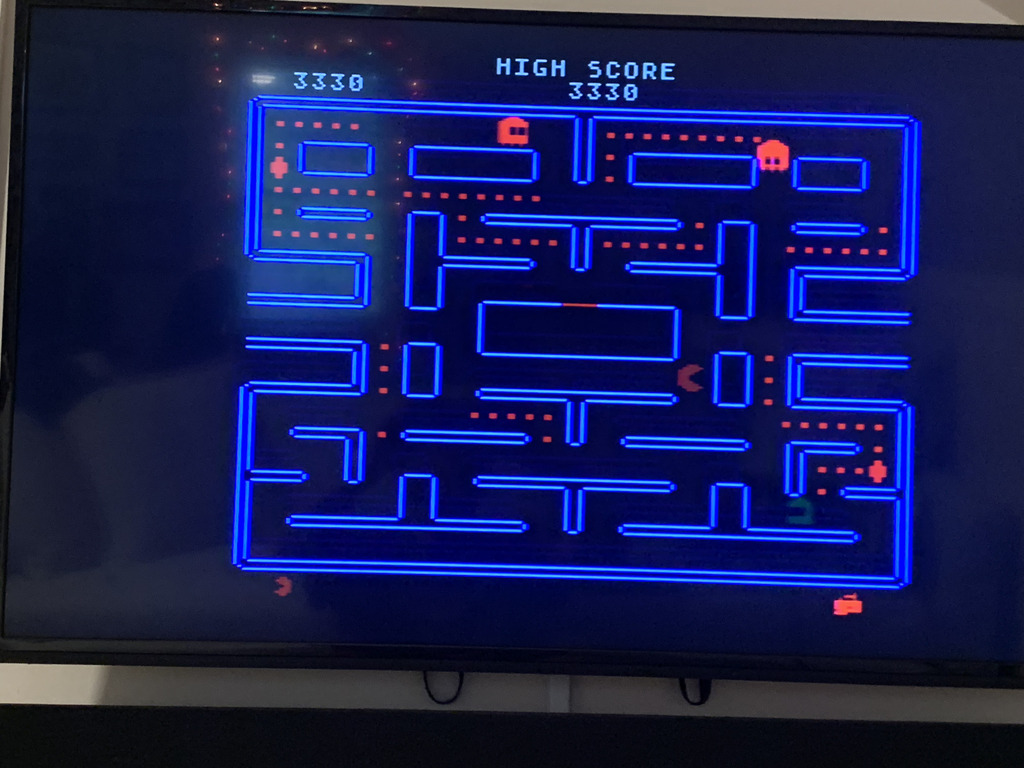
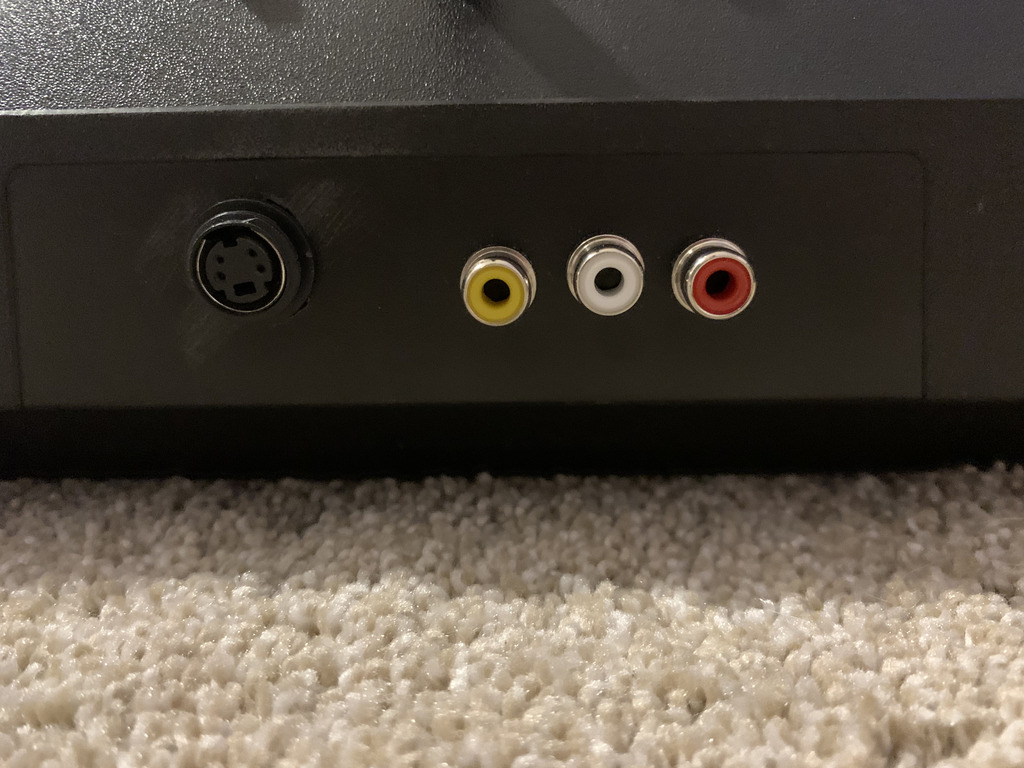
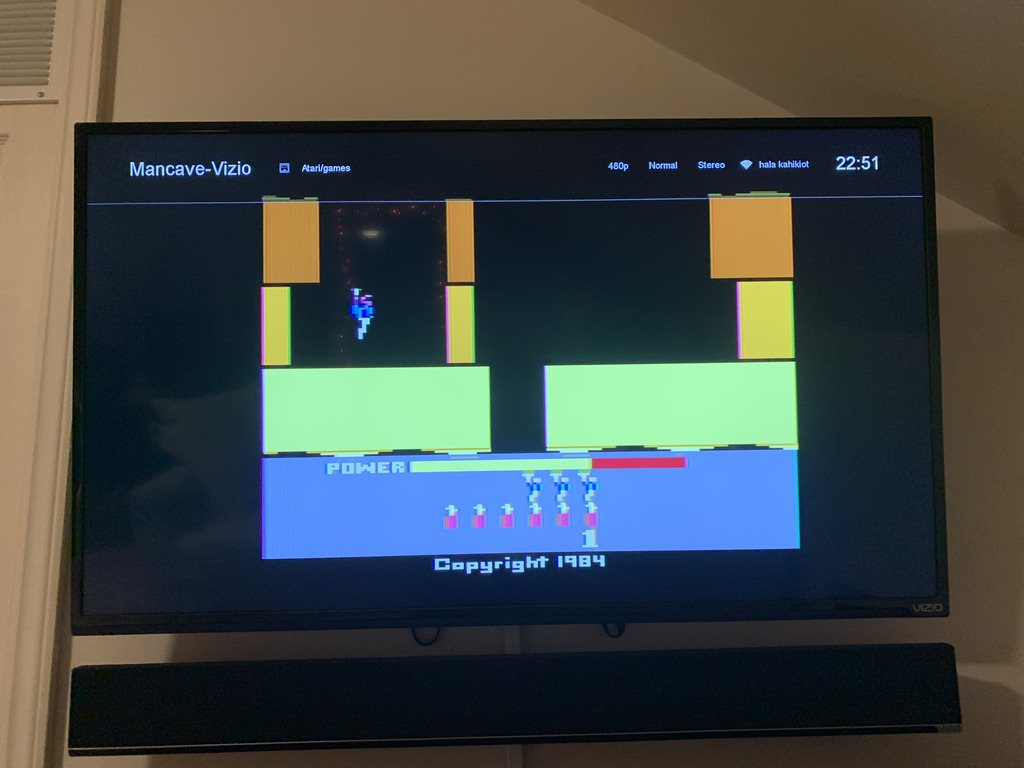
The difference between composite and S-video really is quite something. Here are some pictures of H.E.R.O. on my 2600. This is: 2600 UAV -> RetroTINK 2X-MINI -> Vizio D43fx-F4.
First, composite:
Now, S-video:
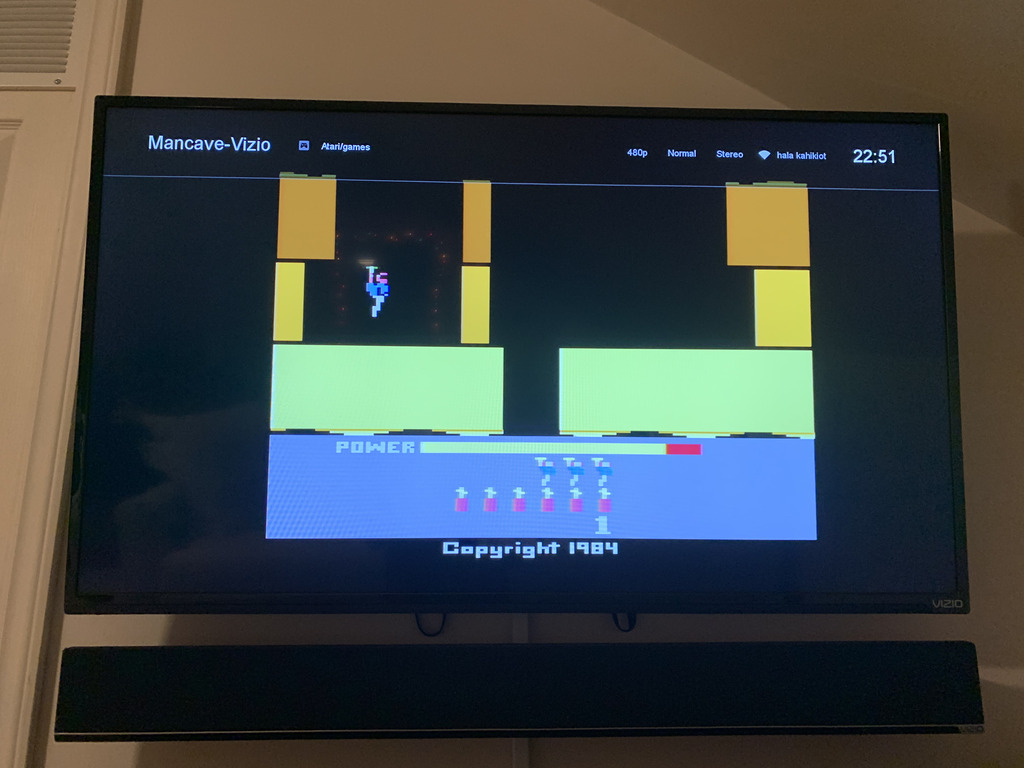
Other than some concerns about color on the 2600, I'm definitely very pleased with this result. Maybe there's a color pot I can adjust there...
Many thanks to AtariAge users DrVenkman and Crossbow for their assistance.